After days of community development, the preliminary development of the new Connector API of SeaTunnel is completed. The next step is to adapt this new connector. In order to aid the developers to use this connector, this article provides guide to develop a new API.
Priliminary Setup
Environment configuration: JDK8 and Scala2.11 are recommended.
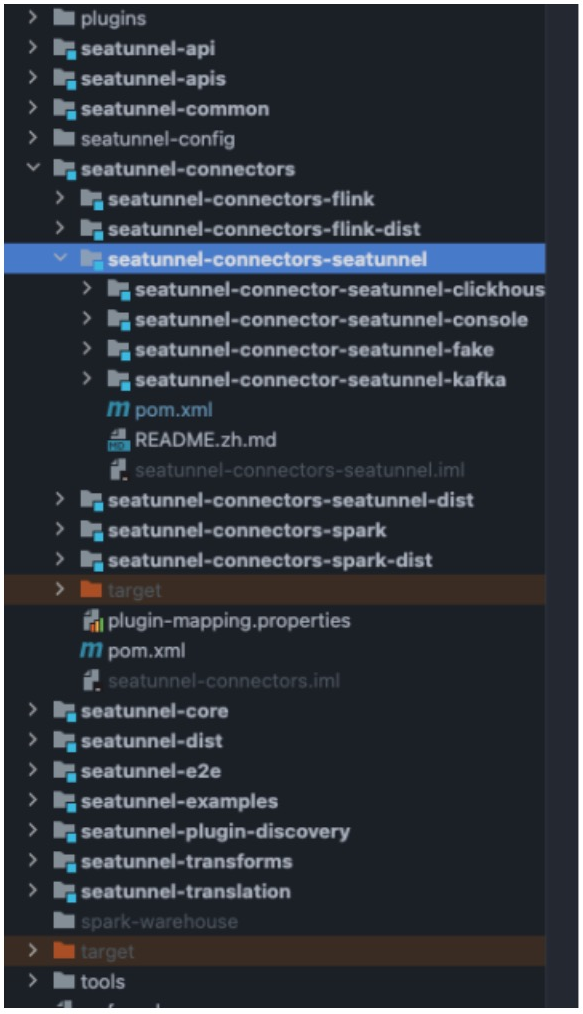
As before, we need to download the latest code locally through git and import it into the IDE, project address: https://github.com/apache/incubator-seatunnel . At the same time, switch the branch to api-draft, and currently use this branch to develop the new version of the API and the corresponding Connector. The project structure is as follows:
Prerequisites
At present, in order to distinguish different Connectors, we put the connectors that support
- Flink/Spark under the
seatunnel-connectors/seatunnel-connectors-flink(spark)module. - New version of the Connector is placed under the
seatunnel-connectors/seatunnel-connectors-seatunnelmodule.
As we can see from the above figure, we have implemented Fake, Console, Kafka Connector, and Clickhouse Connector is also being implemented.
- Flink/Spark under the
At present, the data type we support is SeaTunnelRow, so no matter the type of data generated by the Source or the type of data consumed by the Sink, it should be SeaTunnelRow.
Development of Connector
Taking Fake Connector as an example, let's introduce how to implement a new Connector:
Create a corresponding module with a path under
seatunnel-connectors-seatunnel, which is at the same level as other new connectors.Modify the
seatunnel-connectors-seatunnel/pom.xmlfile, add a new module to modules, modifyseatunnel-connectors-seatunnel/seatunnel-connector-seatunnel-fake/pom.xml, add seatunnel-api dependencies, and correct parent Quote. The resulting style is as follows: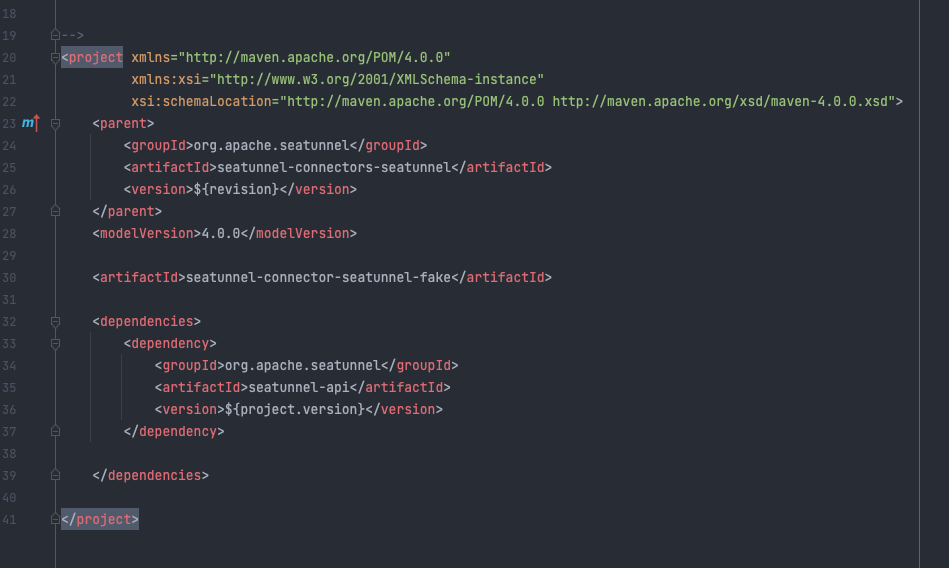
The next step is to create the corresponding package and related classes, create FakeSource, and need to inherit SeaTunnel Source.
- Note : The Source of SeaTunnel adopts the design of stream and batch integration. The Source of SeaTunnel determines whether current Source is a stream or batch through attribute getBoundedness.
So you can specify a Source as a stream or batch by dynamic configuration (refer to the default method). The configuration defined by the user in the configuration file can be obtained through the prepare method to realize the customized configuration.
Then create FakeSourceReader, FakeSource SplitEnumerator, and FakeSourceSplit to inherit the corresponding abstract classes (which can be found in the corresponding classes). As long as we implement the corresponding methods of these classes, then our SeaTunnel Source Connector is basically completed.
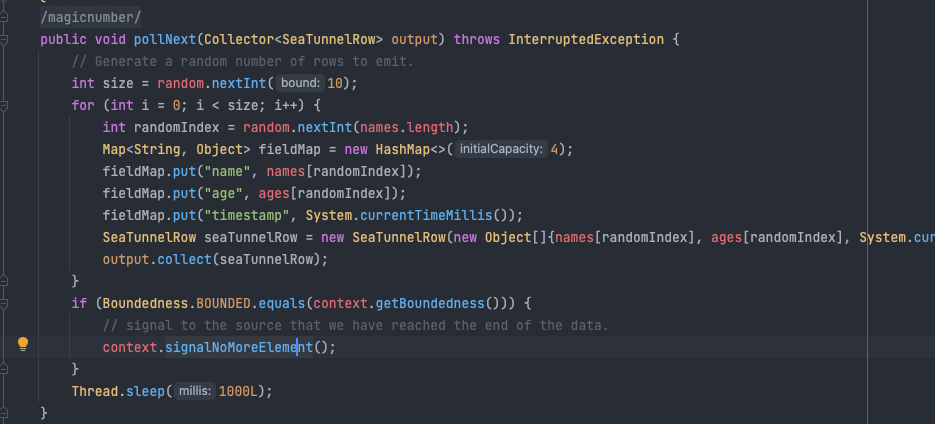
Next, just follow the existing example to write the corresponding code. The most important one is the FakeSource Reader, which defines how we obtain data from the outside, which is the most critical part of the Source Connector. Every time a piece of data is generated, we need to place it in the collector as shown:
After the code development is complete, we need to configure the configuration file
plugin-mapping.propertieslocated underseatunnel-connectors/modules. Adding a seatunnel.source.FakeSource = seatunnel-connector-fakemeans that SeaTunnel can find the jar package corresponding to the project by looking for a Source named FakeSource. This allows the Connector to be used in the normal configuration file.For a detailed description of writing Source and Sink and SeaTunnel API, please refer to the introduction at
seatunnel-connectors/seatunnel-connectors-seatunnel/ README.zh.md.
Connector Testing
- For testing, we can find the
seatunnel-flink(spark)-new-connector-examplemodule in seatunnel-examples, and test it against different engines to ensure that the performance of the Connector is as consistent as possible. If you find any discrepancies, you can mark them in the document, modify the configuration file under resource, add our Connector to the configuration, and introduceseatunnel-flink(spark)-new-connector-example/pom.xmldependency, you can executeSeaTunnelApiExampleto test. - The default is stream processing mode, and the execution mode is switched to batch mode by modifying
job.mode=BATCHin the environment of the configuration file.
Submit PR
When our Connector is ready, we can submit PR to github. After reviewing by other partners, our contributed Connector will become part of SeaTunnel!